I've always wanted to learn how to do panoramas. For some reason I always thought that it was too damn fiddly so I filed it in the too-hard basket. Anyway my interest was peaked after a friend sent me his attempt at panorama. I noticed quite a few alignment problems, which I later learnt were cause by parallax errors. I wondered if I could do better.
I did a lot of reading on the internet on that topic and there are heaps of info on the causes and how to eliminate it. I first had to wrap my head around terms like nodal point, rotational axis and parallax errors. I later found out that the correct terminology is
entrance pupil and not nodal point. There are loads of information and tutorial on how to achieve it.
I was salivating over a pano package from
Really Right Stuff (RRS) could not justify paying over USD $360. After some thinking and I realised that I could use my panning
BH-40 Pro II ballhead and
MPR-192 rail from RRS.
Requirements1. Calculate entrance pupil of lens. The entrance pupil of the lens must be directly above the rotational axis of the tripod to negate parallax errors.
2. Tripod - preferably a sturdy one.
3. Panning ballhead or a panning base. Excellent, the BH-40 has a panning base.
4. Slide rail. Luckily for me I had an old RRS MPR 192 slide rail which I originally bought to do macro photography but was not suitable as the movements were not smooth enough.
Entrance PupilThis is how I found the entrance pupil of my Nikon 14-24mm. I place my speaker stand in the foreground and align it with a door frame in the background or any straight vertical line. I then look through the view finder and panned the camera left and right and adjust the position of the camera, by moving it either backwards or forwards on the rail. This process is repeated until the foreground and background objects stop moving when panning the camera left and right.
 My D700 mounted on the RRS MPR 192 rail. As you can see from the photo above, the entrance pupil for the Nikon 14-24mm is towards the front of the lens roughly where the focus ring is.
The tripod must be dead level. This is the hardest part of the whole exercise, it takes a bit of time and lots of patience. It can be very frustrating especially when perched on a rock. I discovered that the spirit level on my Manfrotto 055PROB was crap. I wasted a few hours scratching my head wondering why I couldn't get the tripod level. I ended up using a two axes spirit level instead.
 2-axes spirit level. You can get them on ebay.
Once the tripod is ready, make sure that the ballhead is level. The spirit bubble on the quick release plate is accurate but I double checked using the 2-axes level. Now you are ready to take some shots. Since I had no idea what I was doing I just took multiple shots, anywhere from 3 to 13 shots, in both portrait and landscape mode.

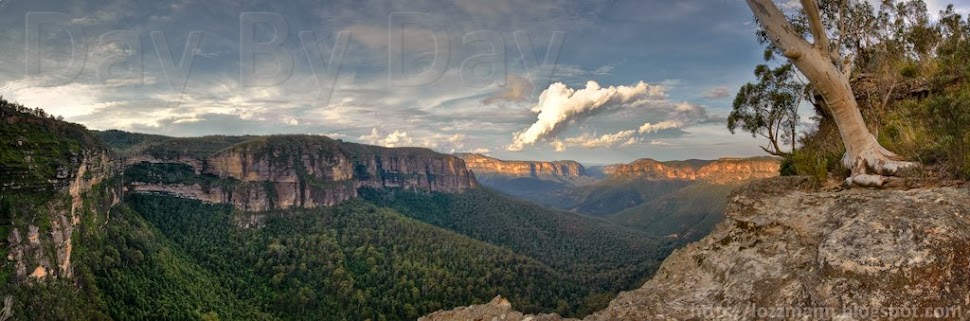
Panorama shot in portrait mode. This one comprise of 3 separate shots.

Panorama shot in portrait mode. This one comprise of 5 separate shots.
 Panorama shot in landscape mode. This one comprise of 5 separate shots.


All the shots were taken with my Nikon D700 and 14-24mm. I use Adobe LR2 and CS4 to do all my adjustments and stitching. I am very please with the results from my first attempt at panoramas. Now I would really keen to do more panoramas and also work to improve my technique.


 Excellent build quality and finish
 Sydney Opera House - This 180° HDR Panorama consist of 7 separate shots in portrait mode. Each shot contains 3 exposures (-1, 0 +1), tripod, tone mapped using Photomatix Pro, stitched together in CS4 and tweaked in LR 2.0


